
Introduction
Backslab is a fundamental tool in orthopedic care, providing effective immobilization for fractures and painful injuries. Unlike full circumferential casts, backslabs offer semi-rigid support while allowing room for swelling, making them safer in acute injury management. This guide explores the different types of backslabs, their clinical indications, and detailed application techniques to ensure optimal patient outcomes.
What Are Backslabs?
A backslab is a partial plaster or fiberglass cast applied to the posterior (back) aspect of a limb. It provides stability while accommodating post-injury swelling, reducing the risk of compartment syndrome.
Common Types of Backslabs and Their Indications
Different fractures require specific backslab configurations:
- U-Slab – Used for humeral shaft fractures.
- Above-Elbow Backslab – For elbow and forearm injuries.
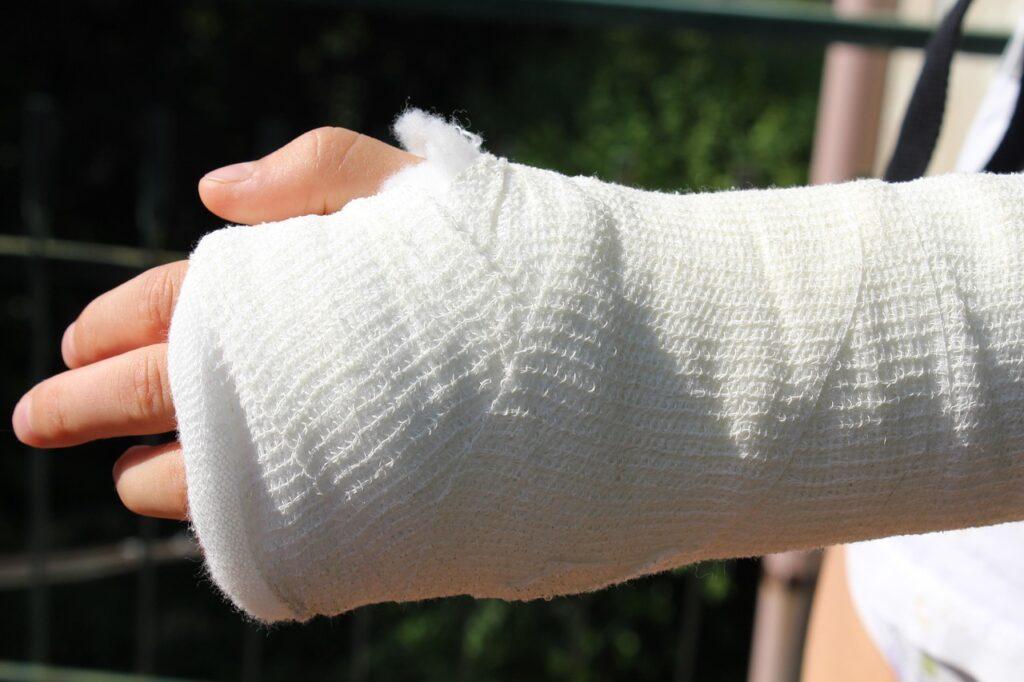
- Wrist Backslab (Colles’ Backslab) – Stabilizes distal radius fractures.
- Below-Knee Backslab – Immobilizes ankle and foot injuries.
- Above-Knee Backslab – Manages tibial fractures and knee injuries.
Step-by-Step Application Techniques
1. U-Slab Application for Humeral Fractures
Indication: Humeral shaft fractures.
Preparation:
- 15-cm wide plaster slab (8 layers thick).
- Stockinette, soft wool rolls, tepid water.
- Remove rings from fingers.
Technique:
- Measure the slab from below the axilla, around the elbow, and over the shoulder.
- Apply wool padding, with extra layers at bony prominences.
- Wet the slab, squeeze out excess water, and mold it along the arm.
- Secure with a crepe bandage, ensuring no constriction.
- Perform safety checks (neurovascular status, padding coverage).
- Obtain post-application radiographs to confirm proper alignment.
Key Point: A U-slab must extend over the shoulder to prevent slippage.
2. Above-Elbow Backslab for Forearm and Elbow Injuries
Indication: Elbow fractures, forearm injuries.
Preparation:
- Similar to U-slab but includes a thumb hole in stockinette.
Technique:
- Apply stockinette from axilla to fingers.
- Pad with wool, focusing on the elbow.
- Position the slab along the posterior arm, securing it with a bandage.
- Check for free thumb and finger movement.
- Verify neurovascular integrity post-application.
3. Wrist Backslab (Colles’ Backslab) for Distal Radius Fractures
Indication: Colles’ fractures, wrist sprains.
Preparation:
- 8–10 cm wide plaster slab (6–8 layers).
- Stockinette, wool padding, tepid water.
Technique:
- Apply stockinette, ensuring thumb mobility.
- Pad bony areas (wrist, thumb base).
- Mold the slab along the dorsum of the forearm.
- Secure with a bandage, avoiding constriction.
- Assess finger movement and sensation.
Common Mistake: Inadequate padding at the thumb base leads to skin abrasions.
4. Below-Knee Backslab for Ankle and Foot Injuries
Indication: Ankle fractures, foot trauma.
Key Consideration:
- Neutral ankle position (plantigrade) is crucial to prevent equinus deformity.
Technique:
- Apply stockinette from toes to knee.
- Add extra padding at the ankle and fibular head.
- Use a stirrup slab for lateral support.
- Check toe capillary refill and nerve function.
5. Above-Knee Backslab for Tibial and Knee Fractures
Indication: Tibial shaft fractures, knee injuries.
Critical Step:
- Maintain 30° knee flexion to prevent rotational malalignment.
Technique:
- Extend the slab from metatarsal heads to mid-thigh.
- Reinforce with side stirrups for added stability.
- Ensure patella alignment with the first web space.
Safety and Best Practices
- Always check neurovascular status post-application.
- Avoid direct skin contact with plaster to prevent burns.
- Repeat radiographs to confirm fracture alignment.
- Monitor for swelling and adjust padding if needed.
For further reading, refer to:
Conclusion
Backslabs are essential in fracture management, offering a balance between immobilization and swelling accommodation. Proper application techniques, attention to padding, and post-application checks ensure patient safety and optimal recovery. Whether treating a Colles’ fracture or a tibial injury, mastering backslab application is crucial for orthopedic practitioners.
By following these guidelines, clinicians can enhance fracture care while minimizing complications. For advanced techniques, consider specialized orthopedic training programs.