Introduction to Surgical skin Incisions
Surgical skin incisions: Every surgical procedure begins with a well-planned incision. The way a surgeon makes this initial cut impacts everything from healing time to cosmetic results. This guide covers essential techniques for optimal skin incisions, including blade selection, anatomical considerations, and advanced methods for both open and laparoscopic procedures.

The Art of Making Skin Incisions
Proper Technique for Clean Incisions
- Blade Selection:
- #22 Blade: Standard for abdominal incisions
- #11 Blade: Ideal for arteriotomies (sharp tip)
- #15 Blade: Used in minor procedures
- Execution:
- Hold the scalpel perpendicular to the skin.
- Apply firm downward pressure before drawing the blade smoothly.
- Avoid oblique cuts (risk of edge necrosis).
- Safety First:
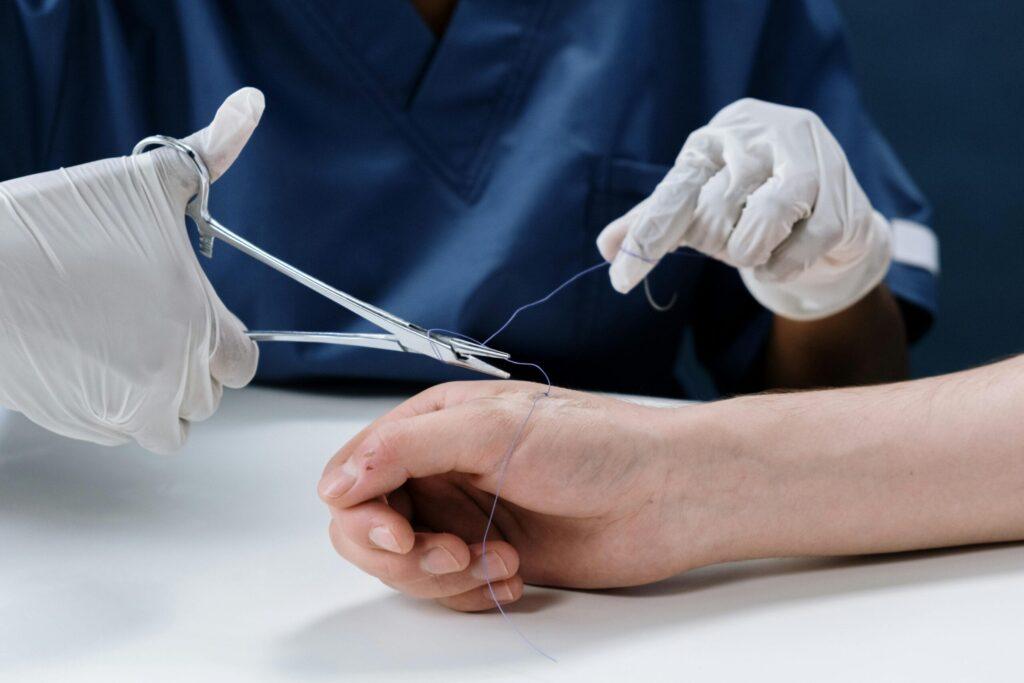
- Always pass scalpels in a kidney dish—never hand-to-hand.
- Maintain tension with the non-dominant hand away from the blade path.
Alternatives to Traditional Blades
- Diathermy
- Laser scalpels
- Harmonic scalpels
Benefits: Reduced blood loss, faster healing, less postoperative pain.
4 Critical Factors in Planning Incisions
1. Langer’s Lines (Skin Tension Lines)
- Follow natural collagen fiber orientation for minimal scarring.
- Pro Tip: A circular incision often converts to an ellipse—indicating tension lines.
2. Anatomical Considerations of skin incisions
- Avoid bony prominences and skin creases.
- Protect underlying nerves and vessels.
3. Cosmetic Outcomes of skin incisions
- Prioritize discreet placement (e.g., natural folds for abdominal incisions).
- Remember: The scar is the only visible reminder of surgery for the patient.
4. Functional Access
- Ensure the incision allows full surgical exposure.
- Example: Transverse abdominal incisions reduce respiratory complications vs. midline cuts.
Advanced Techniques for Challenging Cases
Elliptical Incisions (For Lesion Removal)
- Rule of Thumb: Length = 3x width to prevent tension.
- Fixing “Dog Ears”:
- Lift with a skin hook.
- Excise excess tissue for a smooth closure.
Abdominal Incisions: Open Surgery Best Practices
- Layer-by-Layer Approach:
- Subcutaneous → Muscle → Peritoneum.
- Peritoneal Entry:
- Lift with clips before cutting to avoid bowel injury.
- Closure:
- Mass closure technique with non-absorbable sutures (e.g., nylon).
- *Suture length = 4x wound length* to prevent hernias.
Laparoscopic Port Placement: Safety Protocols
9 Essential Principles
- Primary Trocar Site: Umbilicus (skin fused to peritoneum).
- Open/Semi-Open Technique: Lowers visceral injury risk.
- Scar Avoidance: Adherent bowel risk—use optical trocars near old scars.
- Secondary Trocars: Insert under direct vision.
- Perpendicular Insertion: Prevents abdominal wall trauma.
- Epigastric Vessel Protection: Place lateral to rectus sheath.
- Smaller Trocars: Less pain, fewer hernias (close fascia if >5mm).
- Trocar Removal: Inspect for bleeding under visualization.
- Bladed Trocars: Avoid near vessels.
Step-by-Step Semi-Open Trocar Insertion
- Evert Umbilical Cicatrix (Littlewood’s forceps).
- Palpate Stalk under traction.
- Curved Incision below cicatrix.
- Expose Decussation (fiber crossing).
- 5mm Fascial Incision (#11 blade).
- Blunt Hemostat Entry (“pop” indicates peritoneal breach).
- Insert Blunt Trocar along same path.
- Confirm Placement laparoscopically before insufflation.
High-Risk Patients:
- Previous Scars? Use Palmer’s Point (3cm below left subcostal margin).
- Obese Patients? Optical blunt trocars under vision.
Key Takeaways for Surgeons (Surgical skin incisions)
- Precision Matters: A well-planned incision improves outcomes.
- Safety Protocols: Reduce complications in both open and laparoscopic cases.
- Cosmetic & Functional Balance: Prioritize both patient recovery and satisfaction.
By mastering these techniques, surgeons can minimize complications, enhance healing, and achieve superior results.
References: